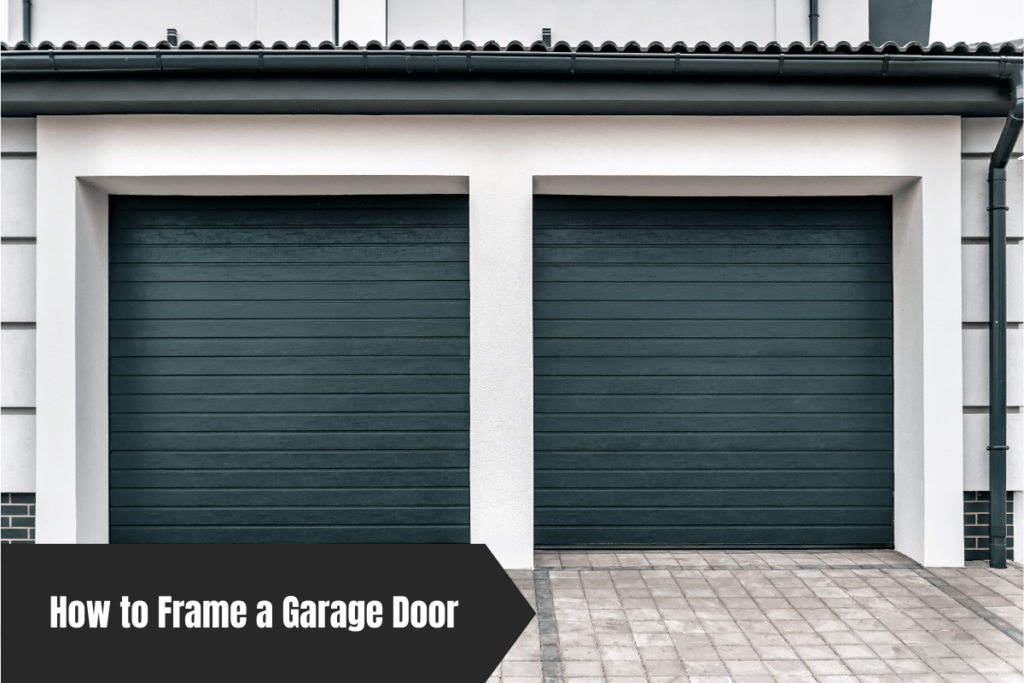
Alright, listen up. Framing a garage door isn’t just about slapping some wood together and calling it a day. You want that thing to work smoothly, keep your garage warm (or cool), and make sure your car doesn’t get jammed inside. I’m going to walk you through every step of framing your garage door—the right way. If you screw this up, your garage door could sag, misalign, or worse, it won’t close at all. And we both know that’s not what you want.
You know who to call if you mess this up, though—Austin Garage Door. We’ve got you covered if things go sideways.
Materials You’ll Need:
- 2×4 or 2×6 lumber (depends on the weight and size of your door)
- Hammer or screw gun
- Nails or screws
- Level (crucial for keeping things straight)
- Tape measure (accuracy is key here)
- Saw (you’ll need to cut the lumber to size)
- Framing square
- Safety gear (gloves, glasses—you know the drill)
Let’s break it down.
Step-By-Step guide
Step 1: Measure and Mark Your Opening
First thing’s first, measure that opening like your life depends on it. Take measurements at the top, middle, and bottom. You want to make sure your garage door fits snug, with enough room for the tracks and hardware. Standard openings for a single-car garage are about 9 feet wide and 7 feet high. But if you’re working with custom sizes, you’ll need to adjust accordingly.
Mark the top and bottom of the opening with a pencil and a level. Trust me, you don’t want a crooked garage door.
Step 2: Install the Header
The header is the unsung hero here—it’s the beam that holds up the weight of the wall above your door. Grab two pieces of 2×6 lumber and cut them to match the width of your opening. Secure them together and nail (or screw) them above your opening. Make sure it’s level, or you’re going to have a nightmare when you try to hang the door. If you skip this, the wall could sag, and, well, you don’t want to deal with that mess.
Step 3: Add the King and Jack Studs
Now that the header is up, let’s talk about the vertical support. You’ll need two sets of studs for this—king studs and jack studs. The king studs go from floor to ceiling on each side of the opening. The jack studs sit between the header and the floor. You want these guys aligned perfectly with the header to avoid any gaps or misalignment later on.
Step 4: Attach the Jambs and Sill Plate
Next, we’re slapping on the side and top jambs. These are the vertical and horizontal pieces that surround the door, holding it in place. Cut the side jambs to the height of your opening and nail them in place. Then cut the top jamb to fit across the top of your door. Make sure everything is plumb and level here, too.
At the bottom, install a sill plate, which is the bottom horizontal piece of the frame. This will sit right on the floor. Measure and cut it to fit the width of your door.
Step 5: Install the Tracks and Reinforce Corners
You’ll want to install the vertical tracks along the king studs for smooth opening and closing. Horizontal tracks go up top, parallel to the ceiling. Use a level when you’re installing the tracks, because if these are off, your garage door’s going to be a problem every time you open or close it.
Pro tip: Reinforce those corners with metal brackets or braces. This helps prevent sagging and makes sure the frame holds up long-term.
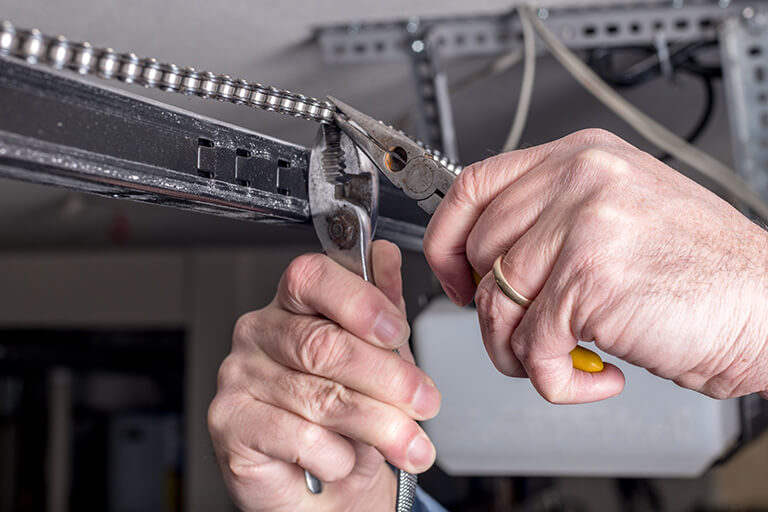
Step 6: Install the Garage Door and Springs
Finally, you’re ready to hang the door itself. Attach the brackets and rollers that come with your door kit. Then, start with the bottom panel and work your way up, attaching each panel to the brackets. After the panels are up, it’s time to install the springs and cables. If you’ve got a tension spring system, be careful—those things can be dangerous if mishandled. Follow the manufacturer’s instructions closely.
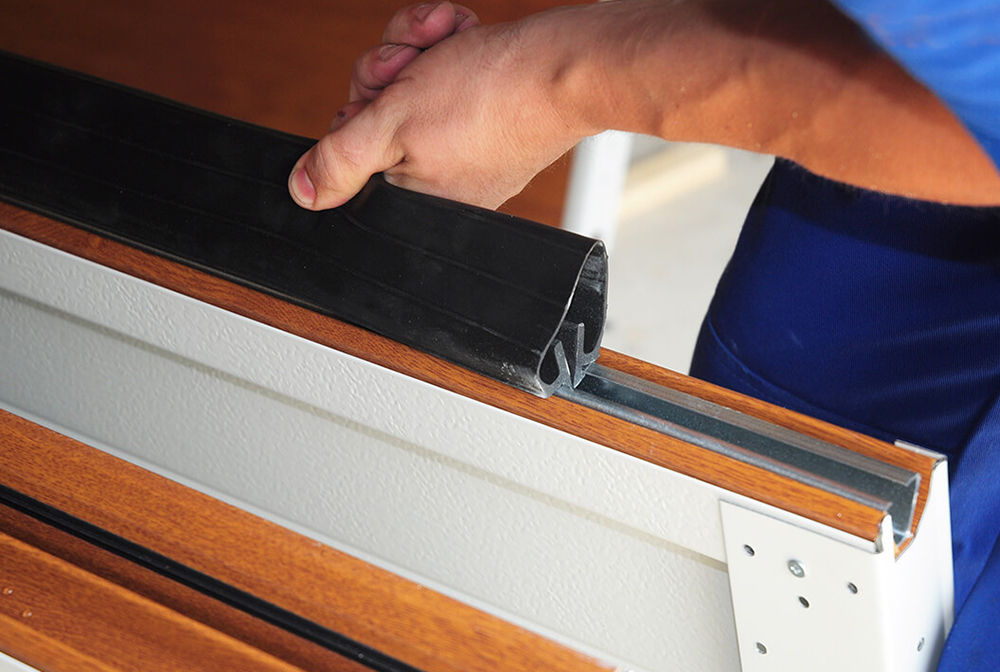
Step 7: Insulate and Finish
Don’t skimp on this step. Adding insulation to your frame will keep your garage at a stable temperature, which is especially important if your garage doubles as a workshop or if it’s attached to the house. You can also caulk around the frame to prevent drafts.
Key Components of Garage Door Framing
| Component | Material | Function |
|---|---|---|
| Header | 2×6 Lumber | Supports wall above the door |
| King Studs | 2×4 Lumber | Vertical support running from floor to ceiling |
| Jack Studs | 2×4 Lumber | Short vertical supports between header and floor |
| Jambs | 2×4 Lumber | Surrounds the door, holds it in place |
| Sill Plate | 2×4 Lumber | Bottom piece, supports the door |
| Tracks | Metal (Galvanized) | Guides the door during operation |
| Brackets | Metal | Reinforces corners and prevents sagging |
Frequently Asked Questions
What’s the standard size for a garage door opening?
For a typical single-car garage, the standard opening is 9 feet wide by 7 feet high. Double-car garages are usually 16 feet wide and 7 feet high. Always measure your space to be sure. Custom sizes are a whole other ballgame, and you’ll want to consult with a professional like Austin Garage Door to ensure you get the right fit.
Do I really need to reinforce the corners of my garage door frame?
Absolutely. Reinforcing the corners with metal brackets or braces is crucial for long-term stability. Without them, your frame could sag or shift, especially with heavy doors or in areas with strong weather conditions.
How do I make sure the frame is level?
Using a spirit level is your best bet. Check the level at every stage—when you install the header, the jambs, the sill plate, and even the tracks. If anything’s off, it’ll mess with the operation of your door. Trust me, taking the time to ensure everything is level will save you a headache down the line.
How much does it cost to frame a garage door?
Costs can vary depending on the size of your door and the materials you use. On average, you’re looking at around $200 to $500 in materials for a standard garage door frame. If you’re installing a larger or custom door, expect the price to increase. If you’re unsure, check out Austin Garage Door’s guide on installation costs for more details.
Conclusion
Framing a garage door isn’t rocket science, but it does require precision, the right materials, and a bit of patience. Whether you’re tackling this as a DIY project or looking to hire a pro, remember that proper framing is key to a long-lasting, smoothly operating garage door. If you’re in over your head or just want to make sure it’s done right, give Austin Garage Door a call. We’ve got the tools, the team, and the know-how to get it done quickly and correctly. Don’t leave your garage door to chance—frame it right the first time!
For more information on garage door maintenance or repairs, check out our guides on how to reset your LiftMaster opener or learn about garage door spring repair costs.